A Simple Guide on How to Talk-to-Type on a MacBook
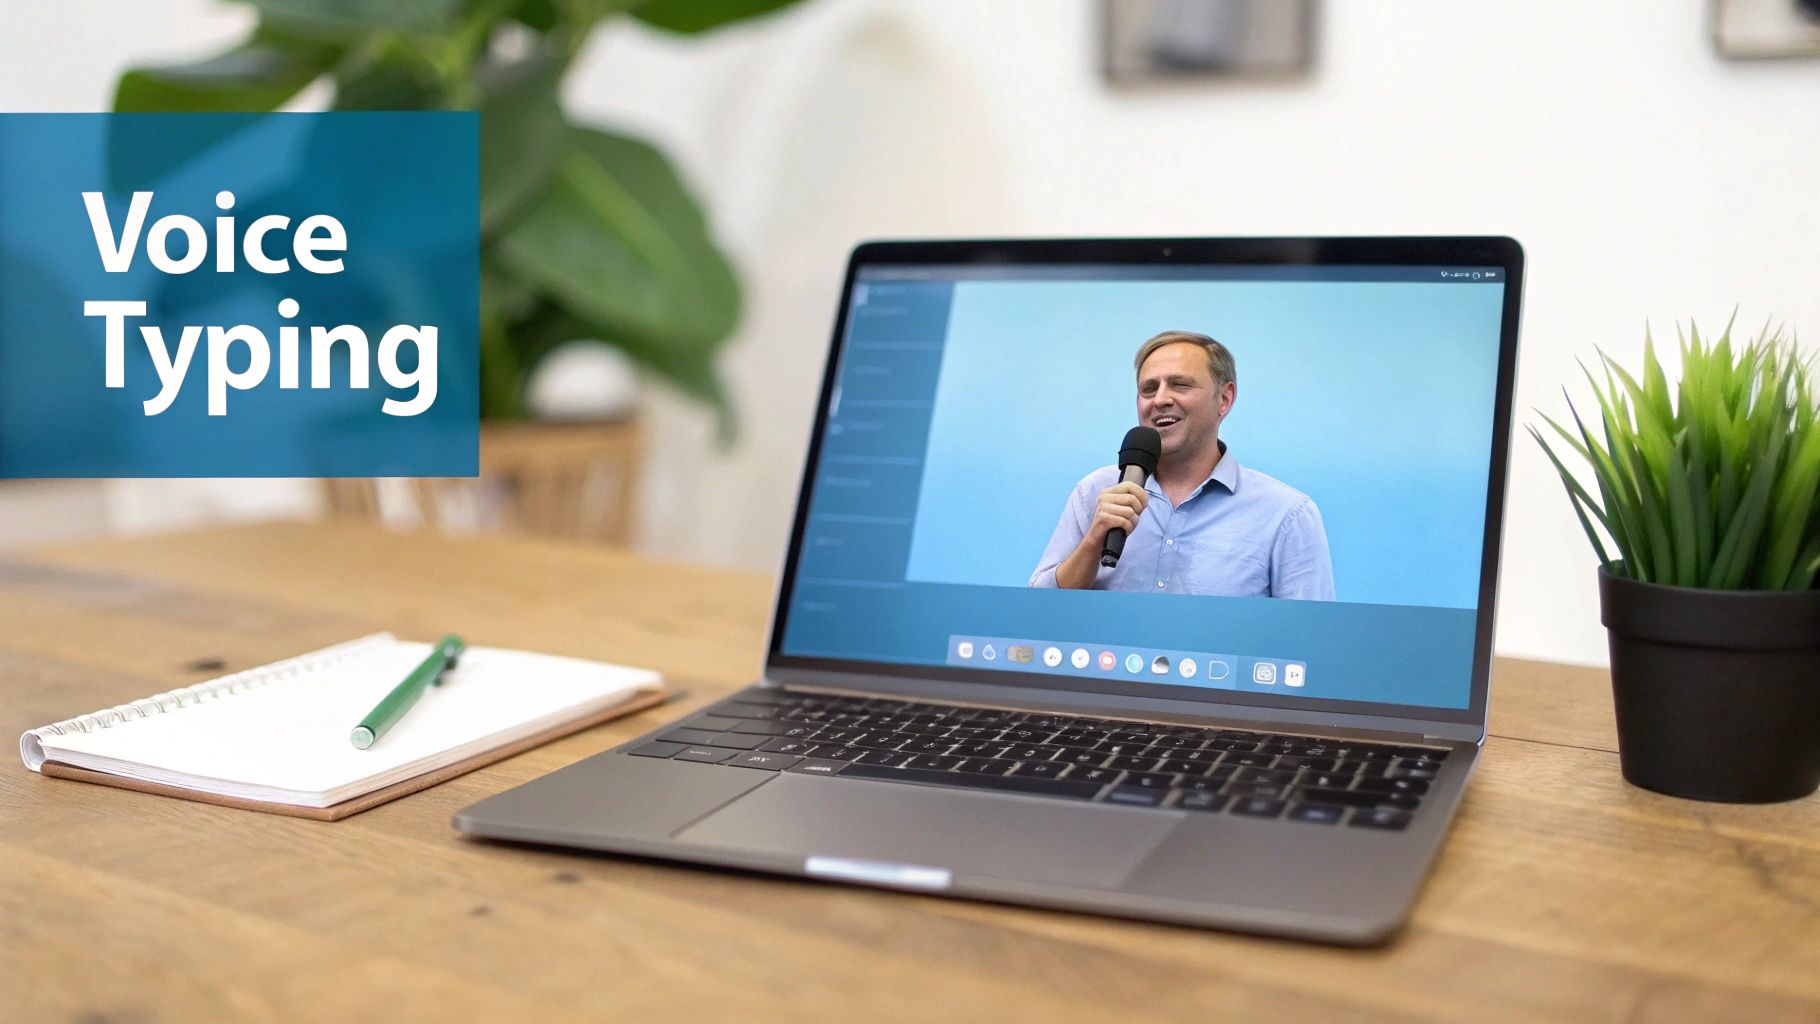
Do you ever wish you could just talk to your MacBook and have it write for you? You can! This is called voice typing. It's a tool already on your Mac. It's great when your hands are tired, you have lots of ideas, or you just want to write in a new way.
Turn Your Voice into Words on Your MacBook
Talking to your computer to make it type might seem new, but it's been around for a long time. Before Apple put this tool on every Mac, people had to buy special programs. One of the first was called iListen in the late 1990s. It helped show how useful talking to your computer could be.
In this guide, I will show you how to turn on your MacBook's voice typing in just a few minutes. We will use simple words and easy steps.
Why Use Voice Typing on a MacBook?
Learning how to voice type can help you a lot. It is not just for writing long stories. You can use it for small things every day.
Here are some reasons why it is so helpful:
- Work Faster: Most people can talk much faster than they can type. Voice typing helps you get your ideas down before you forget them.
- Rest Your Hands: If you type all day, your hands and wrists can get sore. Voice typing gives them a good rest.
- Write Anywhere: You don't have to sit at a desk. I like to make lists or write emails while walking around. It helps me think better.
"Using a computer by talking is a new skill. Like learning to ride a bike, you won't be a pro on the first day. But it gets easier!"
This guide is about the tool Apple gives you. If you need something with more features, you can look at other speech to text software. Now, let's find the setting and turn it on.
How to Turn On Voice Typing on Your MacBook
Before you can start talking, you need to tell your Mac it's okay to listen. Turning on voice typing is easy. You only have to do it once. Let's go to your computer's main settings to get it started.
For a quick look, here are all the steps in a simple table.
Quick Steps to Turn On Voice Typing
Follow these simple steps to turn on voice typing on your MacBook.
| What to Do | Where to Go | What to Look For |
|---|---|---|
| Open settings | Apple menu (top-left corner) | System Settings… |
| Find keyboard options | System Settings window | Keyboard on the side list |
| Turn on dictation | Keyboard settings | The Dictation part and its on/off switch |
Now, let's go through those steps with a little more detail.
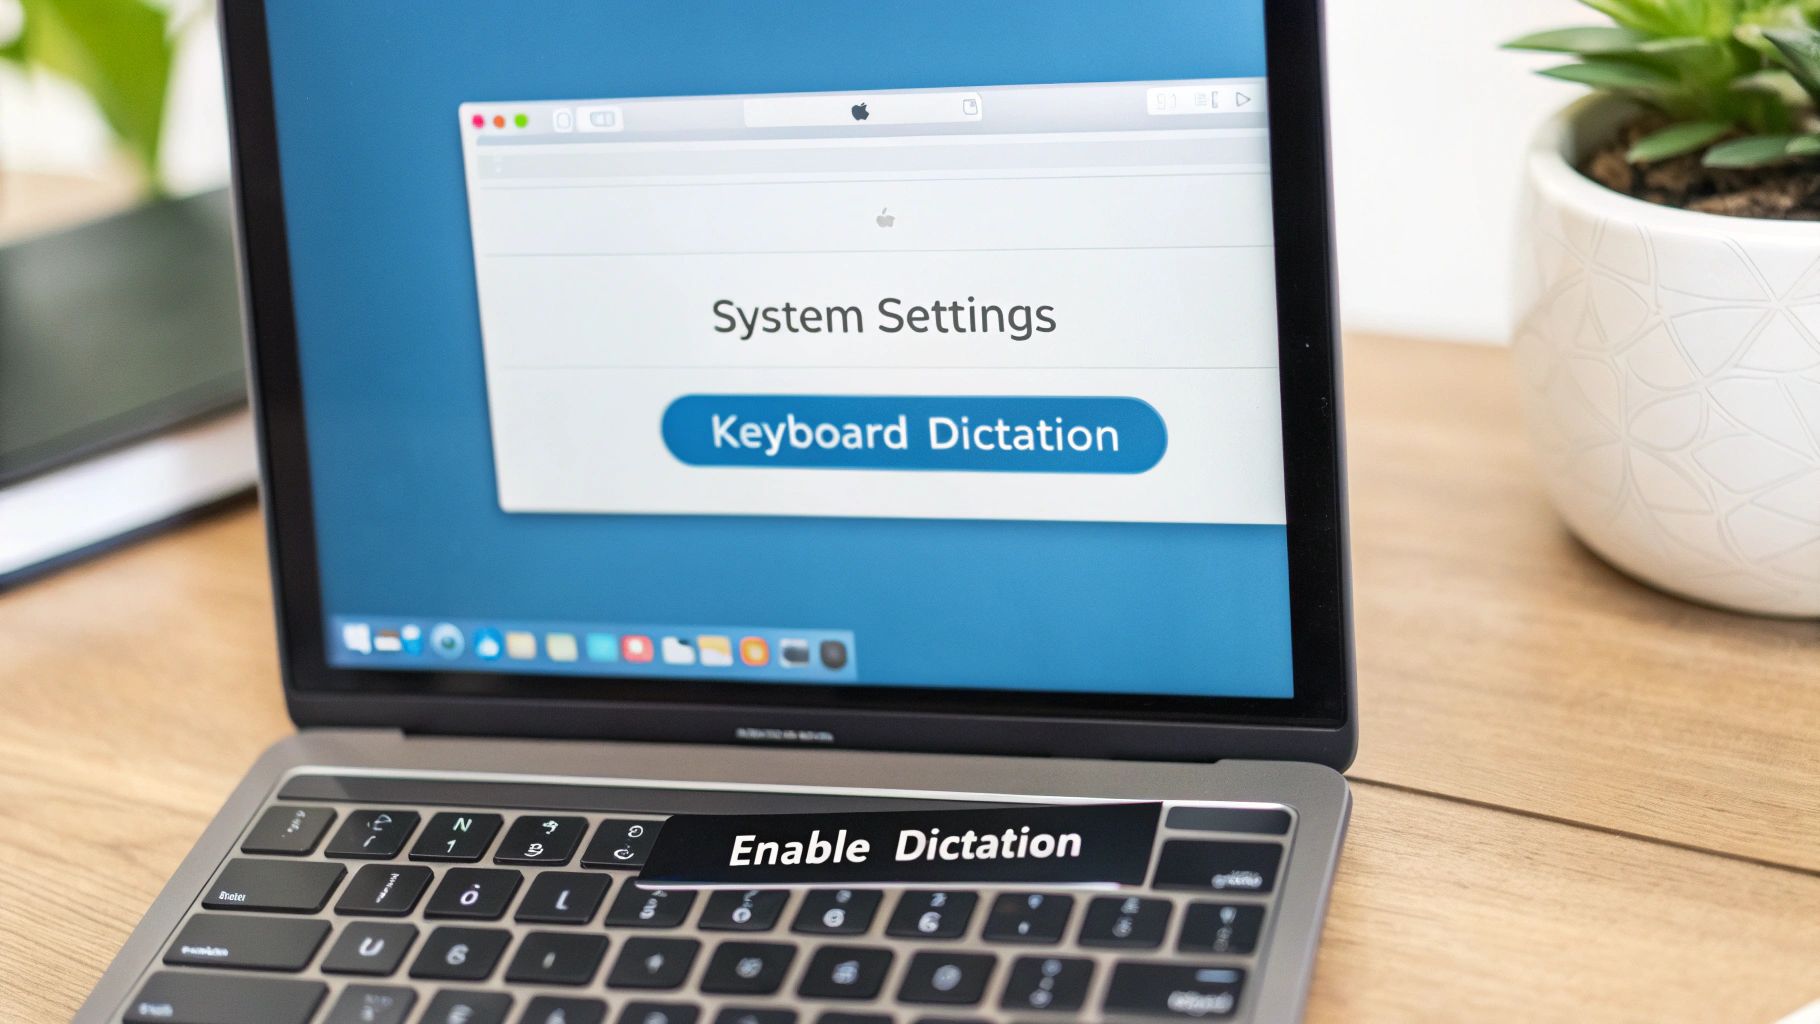
Finding the On-Switch
Your first step is to click the Apple logo in the top-left corner of your screen. A list will appear. From that list, choose System Settings. This is where you change how your Mac works.
Once you are in System Settings, look at the list on the left side. Find and click on Keyboard. This is where you change things for your keyboard, including voice typing.
Inside the Keyboard settings, look for the Dictation part. You will see a switch. Click the switch to turn it On.
Your Mac might ask if you want to help make Siri and Dictation better. You can say 'Share' or 'Not Now'. It's up to you. It won't change how well voice typing works.
For voice typing to work well, your Mac needs to hear you. If you want to learn more about how sound works on your computer, this article on how to capture audio from your Mac computer can help.
And that's it! With one click, your MacBook is ready to turn your words into text. You now know how to turn on voice typing on your MacBook and can start using it.
Start Voice Typing in Any App
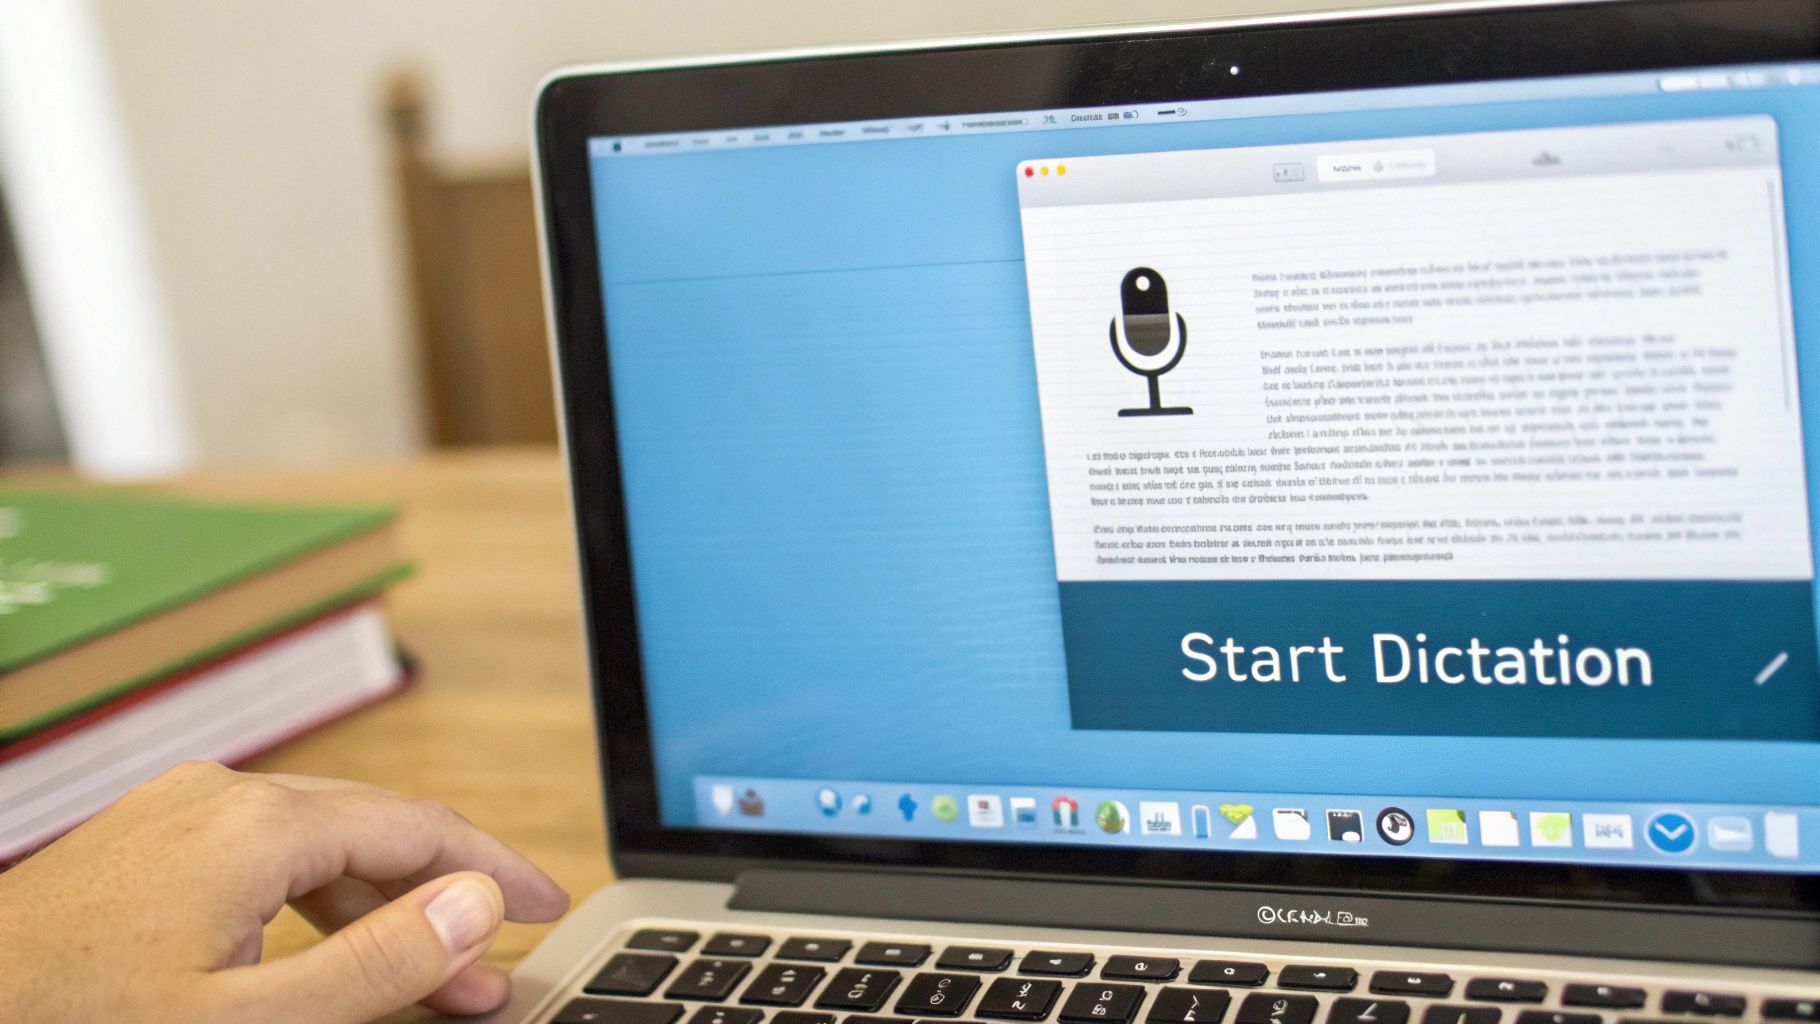
Now for the fun part. You can talk to your Mac anywhere you can type. You can use it in an email, a school paper, a note, or a text message. If you see a blinking line, you can start talking.
To start, look for a key on your keyboard that has a small microphone picture on it. If you have one, just press it once. If you don't have that key, don't worry. Just press the Fn (Function) key two times fast.
A small microphone picture will pop up on your screen. This tells you your Mac is listening. Just start talking clearly. You will see your words show up on the screen. When you are done, press the Fn key one more time or click the "Done" button.
Where Can You Use It
You can use voice typing in most places where you type.
- Writing an email: Quickly write back to someone without using the keyboard.
- Taking notes: Say your ideas out loud during class to write them down fast.
- Sending messages: Chat with friends without having to type.
- Working on documents: It works great in programs like Google Docs. For more help with that, check out our guide on how to dictate in Google Docs.
This tool has gotten so much better over time. Long ago, programs like Dragon NaturallySpeaking were some of the first to get good at this. Now, your Mac can understand you when you talk normally, and it gets it right almost all the time. It is pretty amazing.
The best thing about voice typing is how easy it is to use. Tapping the Fn key two times is a fast way to switch from typing to talking and back again.
Telling Your Mac Where to Put Punctuation
When you start voice typing, you might see that your sentences have no periods or commas. That is because you have to tell your Mac where to put them. You do this by saying the name of the punctuation mark out loud.
Think of it like you are the boss, telling the computer where everything goes. It feels a little funny at first, but you will learn fast.
The Most Common Commands
Let's say you want to type, "That looks fun! Can I come?" You would say it like this:
"That looks fun exclamation point Can I come question mark"
Your Mac hears those words and puts in the right symbols. It's a simple trick that works really well.
Here are the punctuation words you will use the most:
- Period: Just say "period" to end a sentence.
- Comma: Say "comma" to add a small pause.
- New Line: This moves you to the next line down. It is good for writing an address.
- New Paragraph: Say "new paragraph" to get a bigger space and start a new idea.
Getting a Little Fancier
The commands are not just for the basics. You can do more. Need to add a little note in the middle of a sentence? Just say "open parenthesis" before your note and "close parenthesis" after it.
You can also say "colon" or "semicolon" for longer sentences. Learning these simple voice commands is what makes voice typing so fast. You can make perfect papers without even touching the keyboard.
Tips for Better Voice Typing

Your MacBook is good at listening, but it is not perfect. Sometimes it might hear a word wrong. The good news is you can help it hear you better.
The easiest trick is to be in a quiet room. Noise from a TV, other people talking, or even a loud fan can mix up the computer. Before you start talking, try to find a quiet spot. This gives your Mac a clear sound to listen to.
Also, think about how you talk. If you talk too fast or too slow, it can make mistakes. Just talk like you are having a normal chat with a friend. This helps the computer learn how you speak.
Fixing Mistakes as You Go
Even in a quiet room, mistakes can happen. Don't worry. You don't have to stop talking to fix them. You can use your keyboard to make a quick fix and then go right back to talking.
If you want to fix it without your hands, you can use voice commands. These are simple things you can say to change the words.
- "Delete that": This erases the last thing you said. It is perfect if you say the wrong word.
- "Select previous word": This highlights the last word you said. Then, you can just say the right word to replace it.
- "Go to the end of the sentence": This moves your blinking line to the period. It lets you easily add more to your sentence.
Here’s a cool secret: The more you use voice typing, the better it gets at understanding you. The computer learns your voice and the way you talk. So, it will make fewer mistakes over time.
To learn more about what helps voice typing be more accurate, you can read about the factors affecting speech-to-text accuracy in our guide. Using these small tips will help you get the best results from voice typing.
Common Questions About Voice Typing on Mac
Even with easy tools like voice typing, people still have questions. Let's answer some common ones so you can feel like an expert.
First, how much does it cost? The best part is that it is free. The voice typing tool is already on your Mac. You do not need to buy or download anything.
Does It Need the Internet?
This is a great question. For some languages, like English, your MacBook can do the voice typing all by itself. This means you can use it even when you are not connected to the internet.
But, for the very best results, being on the internet helps. This is true if you use big words or people's names. Being online lets your Mac use a more powerful brain to understand you. But being able to use it offline is great for when you are on a plane or at a park.
Being able to voice type anywhere, even without Wi-Fi, makes this a tool you can always count on. It's a big help that most people don't know about at first.
Can I Talk in Other Languages?
Yes! If you speak more than one language, it is easy to switch. You just have to add the languages you want to use in your settings.
- Go back to settings: Open
System Settingsand go toKeyboard. - Find Dictation settings: Find and click on the
Dictationpart. - Pick your language: Use the "Language" menu to pick a new one or click "Add Language…" to get more choices.
Once you add a language, you can switch to it anytime you turn on voice typing. This makes it a great tool for anyone who writes in different languages.
For a tool that works in all your apps and is right 99% of the time, you might want to check out WriteVoice. It lets you write with your voice up to four times faster than typing. It even puts in punctuation for you. Discover how WriteVoice can change the way you work.